How To Fix Registry Editing Has Been Disabled By Your Administrator
Method 1: Use Group Policy Editor
(For Windows Pro and Enterprise Users)
- Open Run Dialog: Press
Win + R, typegpedit.msc, and hit Enter.

- Navigate to User Configuration:
- Go to
User Configuration>Administrative Templates>System.
- Go to
- Locate “Prevent Access to Registry Editing Tools”:
- Double-click on this setting.
- Set it to Disabled or Not Configured.
- Apply and Exit: Click
Applyand thenOK. Restart your computer.

Method 2: Use Command Prompt
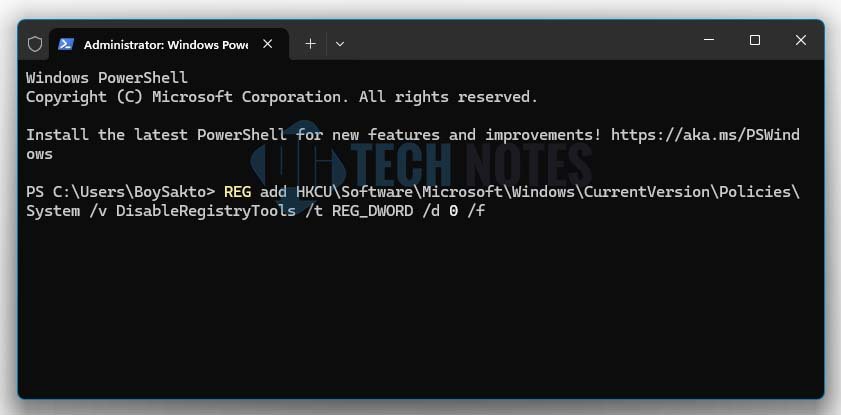
- Open Command Prompt as Administrator:
- Press
Win + Xand selectCommand Prompt (Admin)orWindows PowerShell (Admin).
- Press
- Enter the Following Command:
REG add HKCU\Software\Microsoft\Windows\CurrentVersion\Policies\System /v DisableRegistryTools /t REG_DWORD /d 0 /f

- Restart Your Computer: This should re-enable the Registry Editor.
Method 3: Use the Registry File (.reg) Fix
- Create a Text File:
- Open Notepad copy and paste the following:
					Windows Registry Editor Version 5.00

[HKEY_CURRENT_USER\Software\Microsoft\Windows\CurrentVersion\Policies\System]
"DisableRegistryTools"=dword:00000000

- Save as a .reg File:
- Save the file with a
.regextension (e.g.,EnableRegistry.reg).
- Save the file with a
- Run the File:
- Double-click the file to merge it into the registry.
- Restart your computer.
Method 4: Check for Malware
If the problem persists, it might be caused by malware. Run a full system scan using your antivirus software or a trusted anti-malware tool like Malwarebytes.
Method 5: Contact Your Administrator
If you’re on a managed computer (e.g., work or school), this setting might be enforced by your IT administrator. In such cases, contact them for assistance.
Following these steps should help you regain access to the Windows Registry Editor.


