Running out of disk space on your Windows 11 computer? Don’t worry, it happens to the best of us! Over time, files, apps, and other data can clutter your storage, slowing down your system. Let’s walk through some easy, beginner-friendly steps to free up disk space and get your computer running smoothly again.
Step 1: Use the Built-in Disk Cleanup Tool
Windows 11 comes with a handy tool called Disk Cleanup that can help you quickly delete unnecessary files.
Open Disk Cleanup:
Press Windows + S to open the search bar.
Type “Disk Cleanup” and select it from the results.
Select the Drive:
Choose the drive you want to clean up (usually C:) and click “OK.”
Choose Files to Delete:
In the Disk Cleanup window, you’ll see a list of file types that can be deleted, like Temporary files, Recycle Bin, and more.
Check the boxes next to the files you want to remove and click “OK,” then “Delete Files” to confirm.
Step 2: Uninstall Unnecessary Apps
Old apps and programs can take up a lot of space, so it’s a good idea to uninstall the ones you no longer need.
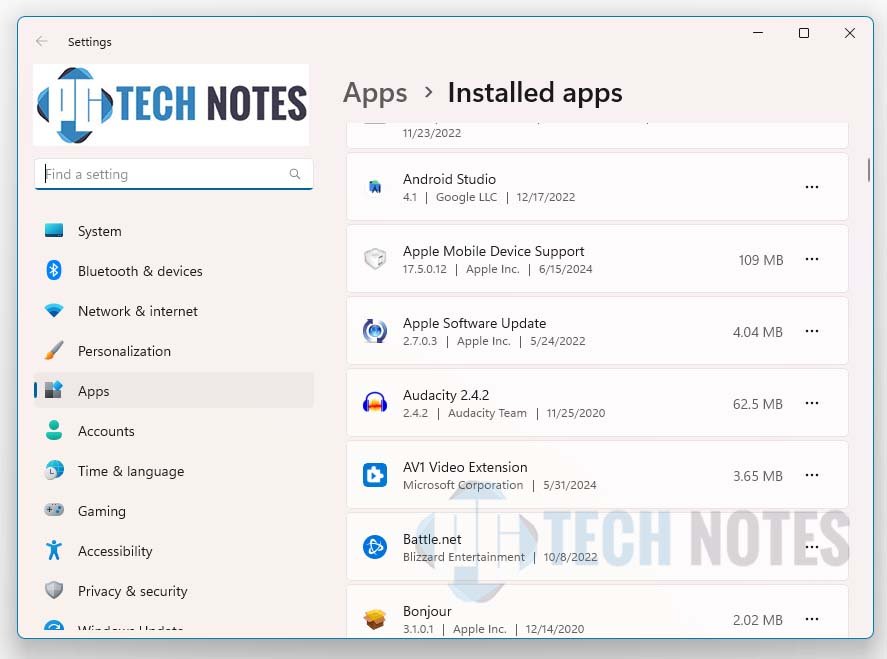
Open Settings:
Press Windows + I to open the Settings menu.
Go to Apps:
Click on “Apps” and then “Installed apps.”
Uninstall Unwanted Programs:
Scroll through the list of installed programs and click on the ones you no longer use.
Select “Uninstall” and follow the prompts to remove them.
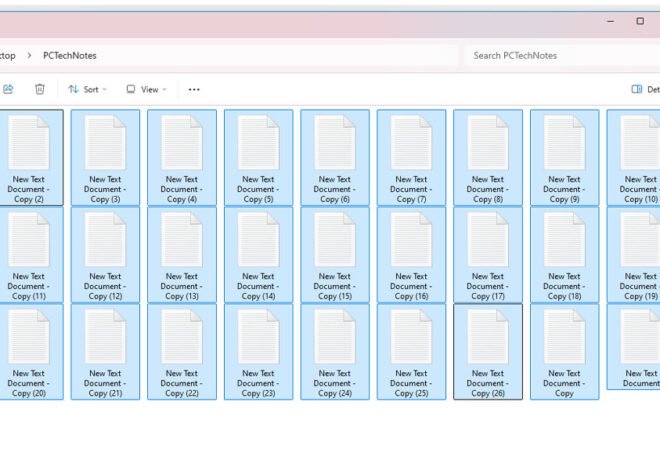
Step 3: Delete Large Files
Sometimes, large files are the main culprits when it comes to eating up disk space.
Search for Large Files:
Open File Explorer by pressing Windows + E.
In the search bar, type size:>1GB to find files larger than 1GB.
Delete or Move Files:
Go through the search results and decide whether you want to delete, move, or back up these large files to an external drive or cloud storage.
Step 4: Clear Temporary Files
Temporary files, cache, and other junk files can pile up and take up valuable space.
Open Storage Settings:
Press Windows + I to open Settings, then go to “System” > “Storage.”
Clear Temporary Files:
Click on “Temporary files.”
Review the list and select the types of temporary files you want to delete, then click “Remove files.”
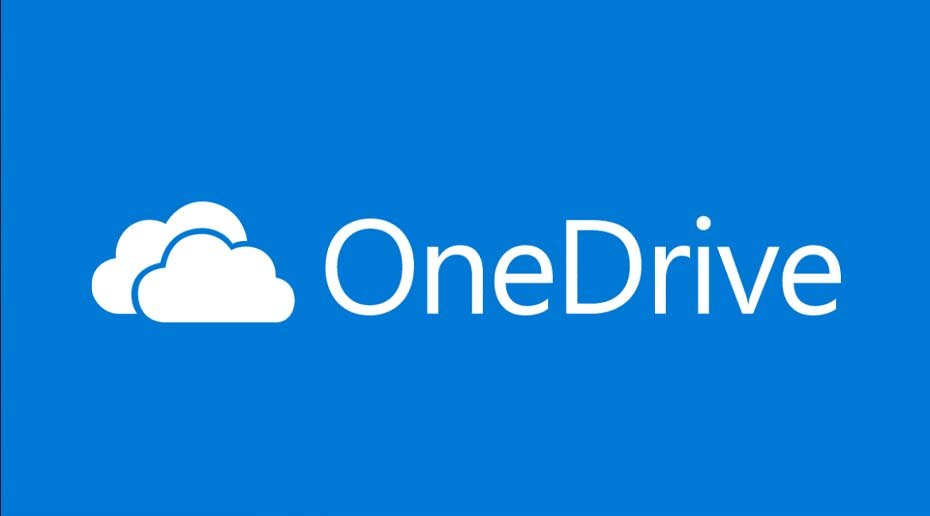
Step 5: Move Files to OneDrive
If you’re using Microsoft’s OneDrive, you can free up disk space by moving files to the cloud.
Open OneDrive:
Click on the OneDrive icon in your taskbar or open it from the Start menu.
Move Files to the Cloud:
Drag and drop files into your OneDrive folder. Once they’re synced, you can choose to “Free up space” by right-clicking the file and selecting that option. This keeps the file in the cloud while freeing up local storage.
Step 6: Empty the Recycle Bin
After deleting files, make sure they’re completely removed by emptying the Recycle Bin.
Open the Recycle Bin:
Double-click the Recycle Bin icon on your desktop.
Empty the Bin:
Click “Empty Recycle Bin” at the top of the window, and confirm when prompted.
Final Tips
Keep an Eye on Storage: Regularly check your storage to avoid filling up your disk again.
Use Storage Sense: Enable Storage Sense in Windows 11 to automatically delete temporary files and manage storage space for you.