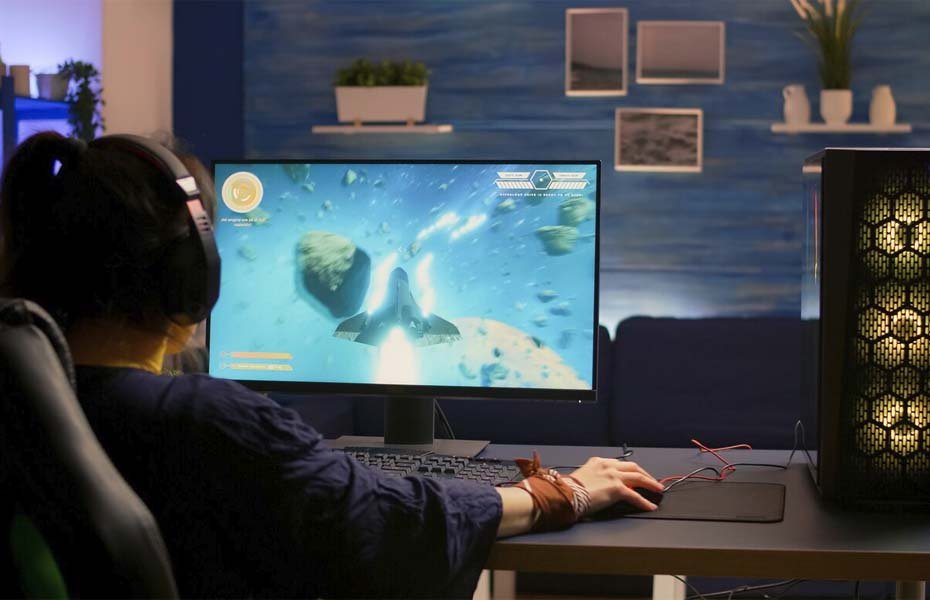
Windows 11 has brought exciting features and performance improvements that make it a great choice for gamers. However, to get the best gaming experience, a few tweaks to settings and hardware can make a significant difference. Whether you’re a casual gamer or a dedicated enthusiast, optimizing your Windows 11 setup can lead to smoother gameplay, faster load times, and overall better performance.
1. Update Your Graphics Drivers
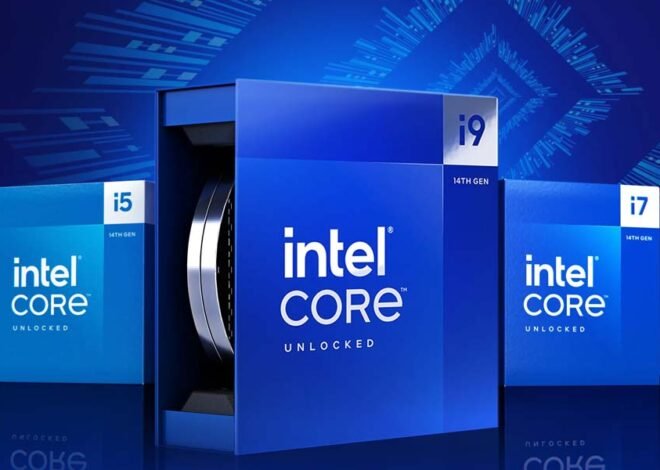
Your graphics card plays a crucial role in gaming performance. Ensure that your GPU drivers are up to date. Both NVIDIA and AMD regularly release driver updates optimized for the latest games and Windows 11. Head to your GPU manufacturer’s website or use their dedicated software (like NVIDIA GeForce Experience or AMD Radeon Software) to keep your drivers current.
2. Enable Game Mode
Windows 11 comes with a built-in Game Mode that prioritizes system resources for gaming. To enable it, go to Settings > Gaming > Game Mode and turn it on. This mode minimizes background processes and optimizes system performance, giving you a smoother gaming experience.
3. Adjust Graphics Settings
Fine-tuning in-game graphics settings can have a huge impact on performance. Start by setting the graphics to a mix of medium to high settings, depending on your system’s capabilities. For the best balance, prioritize settings like texture quality, shadow detail, and anti-aliasing. Reducing these settings can improve FPS without drastically affecting visual quality.
4. Optimize Power Settings
For gaming, it’s essential to switch to a high-performance power plan. Go to Settings > System > Power & Battery and select the “Best performance” option. This ensures that your system is delivering maximum power to your CPU and GPU during gaming sessions.
5. Disable Unnecessary Startup Programs
Too many programs running in the background can slow down your system. Go to Task Manager (Ctrl + Shift + Esc) > Startup, and disable any programs you don’t need to launch at startup. This frees up system resources for gaming.
6. Upgrade Your Hardware
If you’re serious about gaming, upgrading your hardware can make a significant difference. Consider upgrading to a faster SSD for quicker load times, adding more RAM, or even upgrading your GPU to handle the latest games with ease. A high-refresh-rate monitor can also provide a smoother gaming experience.
7. Enable Hardware-Accelerated GPU Scheduling
This feature, available in Windows 11, allows your GPU to manage its own memory, reducing latency and improving performance in games. To enable it, go to Settings > System > Display > Graphics Settings and toggle on “Hardware-accelerated GPU scheduling.”
8. Optimize Network Settings
For online gaming, a stable and fast internet connection is crucial. Use an Ethernet connection if possible, and consider tweaking your router settings for gaming. Some routers offer a “gaming mode” that prioritizes gaming traffic.
9. Keep Windows 11 Updated
Microsoft frequently releases updates that improve system performance and compatibility. Always keep your Windows 11 system updated to ensure you have the latest performance enhancements and security fixes.
10. Manage Background Processes
Running too many background processes can drain system resources, affecting game performance. Use the Task Manager to identify and end unnecessary processes. Additionally, consider using a game booster tool that can automatically manage background processes while you’re gaming.
11. Optimize Virtual Memory (Paging File)
If you’re running out of RAM during gaming sessions, optimizing the virtual memory (paging file) settings can help. Go to Settings > System > About > Advanced system settings > Settings under the Performance section. Under the Advanced tab, you can manually adjust the paging file size to improve performance.
12. Defragment Your Hard Drive (HDD Users)
For those still using HDDs, regular defragmentation can help improve game load times. Go to Settings > System > Storage > Optimize Drives, and select your HDD to defragment. This process rearranges the data on your drive, making it easier and faster to access.
13. Configure Your Display Settings
For gamers using high-refresh-rate monitors, make sure your display settings are configured correctly. Go to Settings > System > Display > Advanced display settings, and set your monitor to its highest refresh rate. This ensures you’re getting the smoothest possible visual experience.
14. Turn Off Notifications
Nothing breaks immersion like a sudden notification popping up in the middle of an intense gaming session. Windows 11 allows you to turn off notifications or set them to “Focus Assist” mode during gaming. Go to Settings > System > Notifications & actions, and customize how and when you want notifications to appear.
15. Use DirectStorage for Faster Load Times
DirectStorage is a feature introduced with Windows 11 that drastically reduces load times by allowing games to directly access your SSD’s storage without involving the CPU. Ensure your games are compatible with this feature, and if they are, enable it for lightning-fast load times.
16. Calibrate Your Display for Better Visuals
For a truly immersive gaming experience, calibrate your display for better color accuracy and contrast. Windows 11 offers a built-in calibration tool. Go to Settings > System > Display > Advanced display settings > Calibrate display color. This will walk you through setting up your monitor for the best possible visuals.
Final Thoughts
Optimizing Windows 11 for gaming can significantly enhance your gaming experience. Whether you’re looking to squeeze out a few extra frames per second or reduce those pesky load times, these tips will help you get the most out of your system. Remember, a well-optimized system not only improves performance but also extends the life of your hardware, ensuring you enjoy your games for years to come.